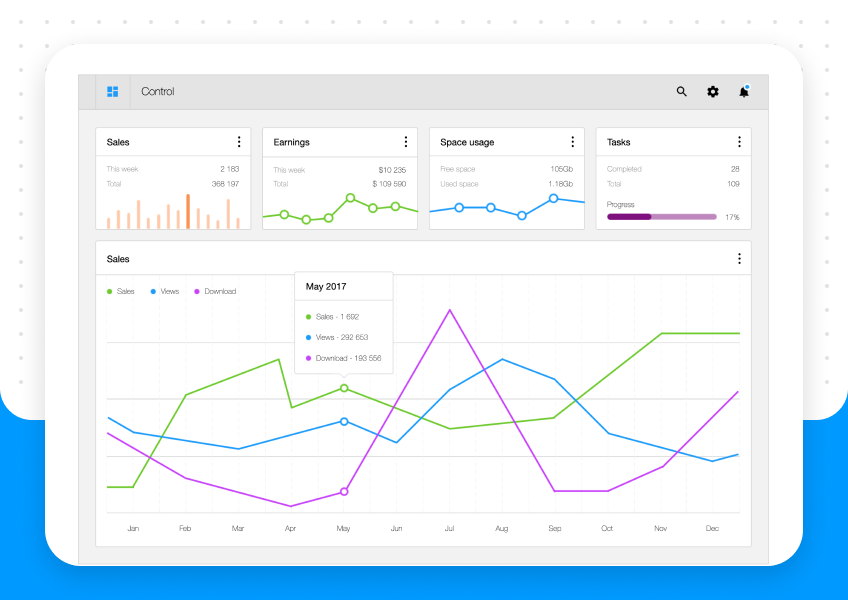
So the thing with text inputs in Axure is that they kind of suck. But why?— you may ask—well, they aren’t too flexible if you want to customise it, or alter it in any way, and there aren’t many controllable states.
Let’s say you’re designing a screen for mobile
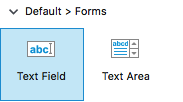
- You grab the basic text field from the official library.
- You place it on your grid.
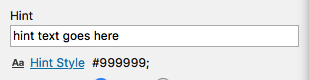
- Add your hint text.
1.

2.
3.
So far so good. Now let’s preview it in the browser.
I don’t think so.
The start of the text sticks too much to the side, you can’ t really change it other than adding spaces, but those will disappear after the user starts typing. Other things I have issues with:
- box’s style can’t be changed (just the text)
- there’s no selected state, just the native focused state
- no margins on sides
The workaround
The basic things you’d need for a proper input are:
- a rectangle / line indicating the input area (with modifiable interaction styles)
- one text field with hidden borders — for hint text
(you can find that in the properties panel) - another text field with hidden borders — for typing
- a label
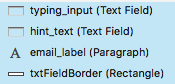
You should see this in your ‘Outline’ layer view
We’ll organise these in a bit ?
Since you have this many items, you’ll be able to trigger events like never before . So let’s set up the behaviour.
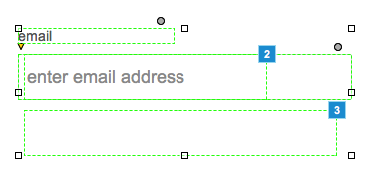
- set style ‘hidden’ for the label
- set style ‘hidden’ for the typing input
- position the two text fields in the same place, and the label as desired

Hidden items are marked in yellow
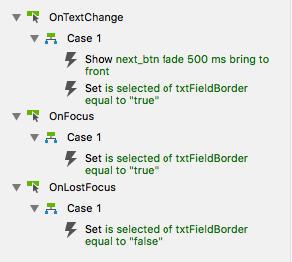
Now we have to add a few cases for the ‘hint text’ ‘onFocus’ event:
- show label
- set selected rectangle state on = true
- show typing input
- set focus on typing input + select text (this is important)
- hide hint text (since we don’t need to show this anymore)
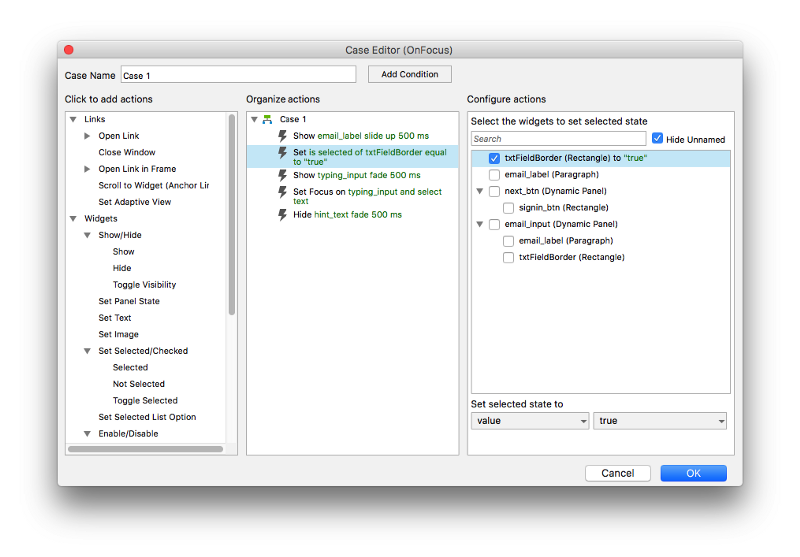
Case Editor Panel in Axure
You should also put an action for ‘onLostFocus’ event so the rectangle reverts back to normal. So here all of these events combined on the ‘hint text’ item:
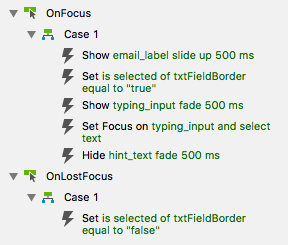
Add a few more actions for the ‘typing input’ item:
Now let‘s see how all these add up to a single input field:

Et voila.
Is this worth all the struggle?— well, I hope so — It’s only difficult to put all these rules together in the beginning, but when all of this is in place, you can reuse these custom modules and just duplicate your way around the screens.
But to save your neurons from melting you can just download this as an Axure file here . You can also check out a live demo here
If you found this useful, you might — no, it’s not necessary, really… — share this over the interwebs. Happy prototyping folks!
Original post you can find here: https://medium.com/@andraspop/how-to-simulate-properly-working-input-fields-in-axure-48916b0e2fe0